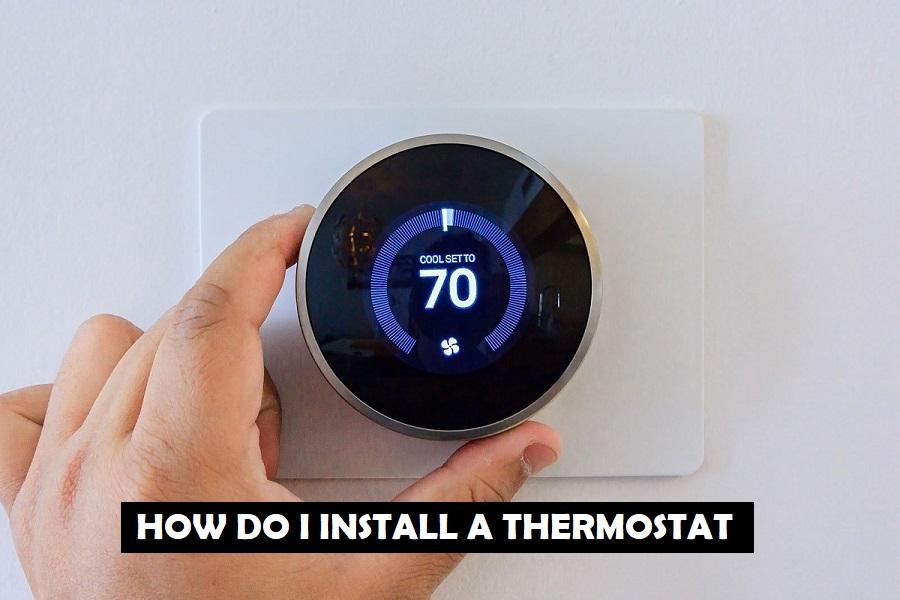
In today’s fast-paced world, technology has revolutionized the way we interact with our homes. One prime example of this is the thermostat, an unassuming device that plays a significant role in maintaining your home’s temperature and comfort level. If you’ve ever wondered how to install a thermostat or are looking to upgrade to a more advanced model, you’ve come to the right place. This in-depth guide will walk you through the entire process, ensuring that you can confidently set up your thermostat and enjoy the benefits of a well-regulated home environment.

The Significance of a Thermostat
Before we delve into the nitty-gritty of thermostat installation, it’s essential to understand why this device is crucial for every home. A thermostat serves as the command center for your heating and cooling systems, allowing you to set and control the desired temperature. Doing so, not only ensures your comfort but also has a substantial impact on your energy bills. With a programmable thermostat, you can create customized schedules, optimizing your HVAC system’s efficiency and ultimately saving you money.
Tools and Materials
To start your thermostat installation project on the right foot, let’s first gather all the necessary tools and materials:
Tools:
- Screwdriver (Phillips and flathead)
- Wire strippers
- Drill with appropriate bits (if wall drilling is needed)
- Pliers
- Level
- Multimeter (for advanced troubleshooting)
Materials:
- New thermostat
- Mounting plate (if required)
- Wall anchors and screws
- Wire labels (in case they are not provided with the thermostat)
- Pen and paper (for labeling and taking notes)
- Batteries (if your thermostat requires them)
Step-by-Step Installation Guide
Step 1: Safety First – Turn Off the Power
Before you begin any work, ensure your safety. Turn off the power to your heating and cooling system. Locate the circuit breaker or fuse box, and switch off the relevant circuit. This step is vital as it prevents electrical accidents while working with the thermostat’s wiring.
Step 2: Removing the Old Thermostat
If you’re replacing an existing thermostat, start by carefully removing it from the wall. Most thermostats have a detachable cover. Open it to access the wires connected to the terminals. Take your time to label each wire according to its terminal. This step will be incredibly helpful when connecting the wires to the new thermostat.
Step 3: Mounting the New Thermostat
Now, determine the location of your new thermostat. Ideally, it should be placed on an interior wall, away from drafts, direct sunlight, and appliances that emit heat. Use a level to ensure that the mounting plate is perfectly horizontal. If your thermostat model requires a mounting plate, attach it to the wall using wall anchors and screws. Be sure to align it properly with the wiring from the previous thermostat.
Step 4: Wiring the Thermostat
This is perhaps the most critical step. Refer to the manufacturer’s instructions for your new thermostat model and connect the labeled wires from the previous thermostat to the corresponding terminals on the new one. Typically, you’ll have wires for heating, cooling, and power. Make sure the connections are secure and tight.
Step 5: Attaching the Thermostat
Gently attach the thermostat to the mounting plate, ensuring that it’s level. Once it’s in place, you can secure it according to the manufacturer’s guidelines. Most thermostats come with screws or clips for this purpose.
Step 6: Power On and Programming
Now that the thermostat is securely in place, it’s time to restore power to your HVAC system. Head back to the circuit breaker or fuse box and turn the power back on. Once the power is restored, follow the manufacturer’s instructions for programming your thermostat. This step may vary depending on your thermostat’s features, but it typically involves setting your preferred temperature for various times of the day and days of the week.
Step 7: Testing the Thermostat
After programming, it’s crucial to test your thermostat to ensure it’s functioning correctly. Check if your heating or cooling system responds as expected to the settings you’ve programmed. This step helps identify any potential issues that may need further troubleshooting.
Congratulations! You’ve successfully installed your thermostat, bringing a new level of control and efficiency to your home’s temperature management. With your programmable thermostat, you’re not only enhancing your comfort but also making a positive impact on your energy consumption and bills. Enjoy the convenience of a well-regulated home environment, tailored to your preferences.


